Canvas Printing London: The Ultimate Guide
Whether it’s a sleek corporate office in the City or a cozy flat in Shoreditch, interior decoration is the soul of a space. It’s the first thing visitors notice and the primary way a brand or homeowner expresses their personality.
Among all decor options, canvas printing remains a timeless favourite. It combines the texture of traditional art with the precision of modern photography. If you are looking to transform your walls or create a bespoke gift, here is everything you need to know about the art and science of canvas.
1. History of Canvas
Canvas has been the backbone of art since the 12th century, originally used for oil paintings. By the mid-19th century, industrial printing allowed for mass-produced art. Fast forward to today, and high-resolution digital printing has made custom canvas art accessible to everyone. Today, it’s a staple for Londoners looking to turn smartphone memories into gallery-quality wall art.
2. Choosing the Right Material
Not all canvases are created equal. The material you choose dictates how long the print lasts and how vibrant the colours appear.
- Cotton Canvas: The “premium” choice. It’s a natural fabric that absorbs ink deeply, resulting in a rich, matte finish often seen in art galleries.
- Polyester Canvas: A more affordable, synthetic option. It typically has a smoother surface and a slight gloss, making it great for vibrant, high-contrast photos.
- Polyester-Cotton Blend: At ez printers, we often recommend this “best of both worlds” hybrid. It offers the texture of cotton with the durability and cost-effectiveness of polyester.
3. Technical Essentials for a Perfect Print
To get a professional result, pay attention to these three factors:
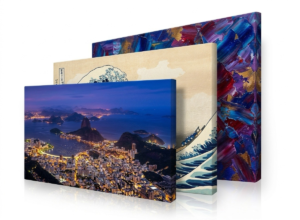
- The Frame (Stretcher Bars): A quality canvas needs a sturdy spine. We use high-quality pine wood frames that are resistant to warping. Standard frames are usually 18mm deep, while “Gallery Wrap” frames are 38mm for a bolder, 3D effect.
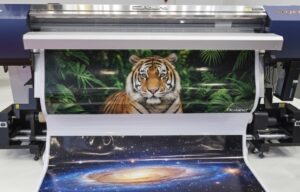
- Ink Quality: We use specialized inks that are UV-resistant. This ensures your family photos or office branding won’t fade even if placed near a sunny window.
- Image Resolution: For a large canvas (e.g., 24″ x 36″), you need a high-resolution file. If the image is too small, the print will look pixelated.
4. Popular Printing Styles
How you display your canvas changes the vibe of the room:
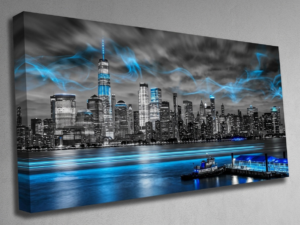
- Single Statement Piece: One large, high-impact photo, perfect for a focal point over a sofa or boardroom table.
- Triptych (Multi-Panel): Splitting one image across three separate canvases. This is a modern, sophisticated look that covers large wall spaces beautifully.
- Wall Clusters: A collection of different-sized canvases arranged together. This “gallery wall” style is perfect for showcasing travel memories or a series of brand products.
Final Thought
Canvas printing is more than just putting ink on fabric; it’s about preserving a moment or defining a space. By choosing the right material and frame depth, you can create a piece of decor that lasts a lifetime.
Ready to bring your walls to life?
Whether you need a single bespoke print or a bulk order for a commercial space, we provide high-quality canvas printing in London with fast turnaround times.